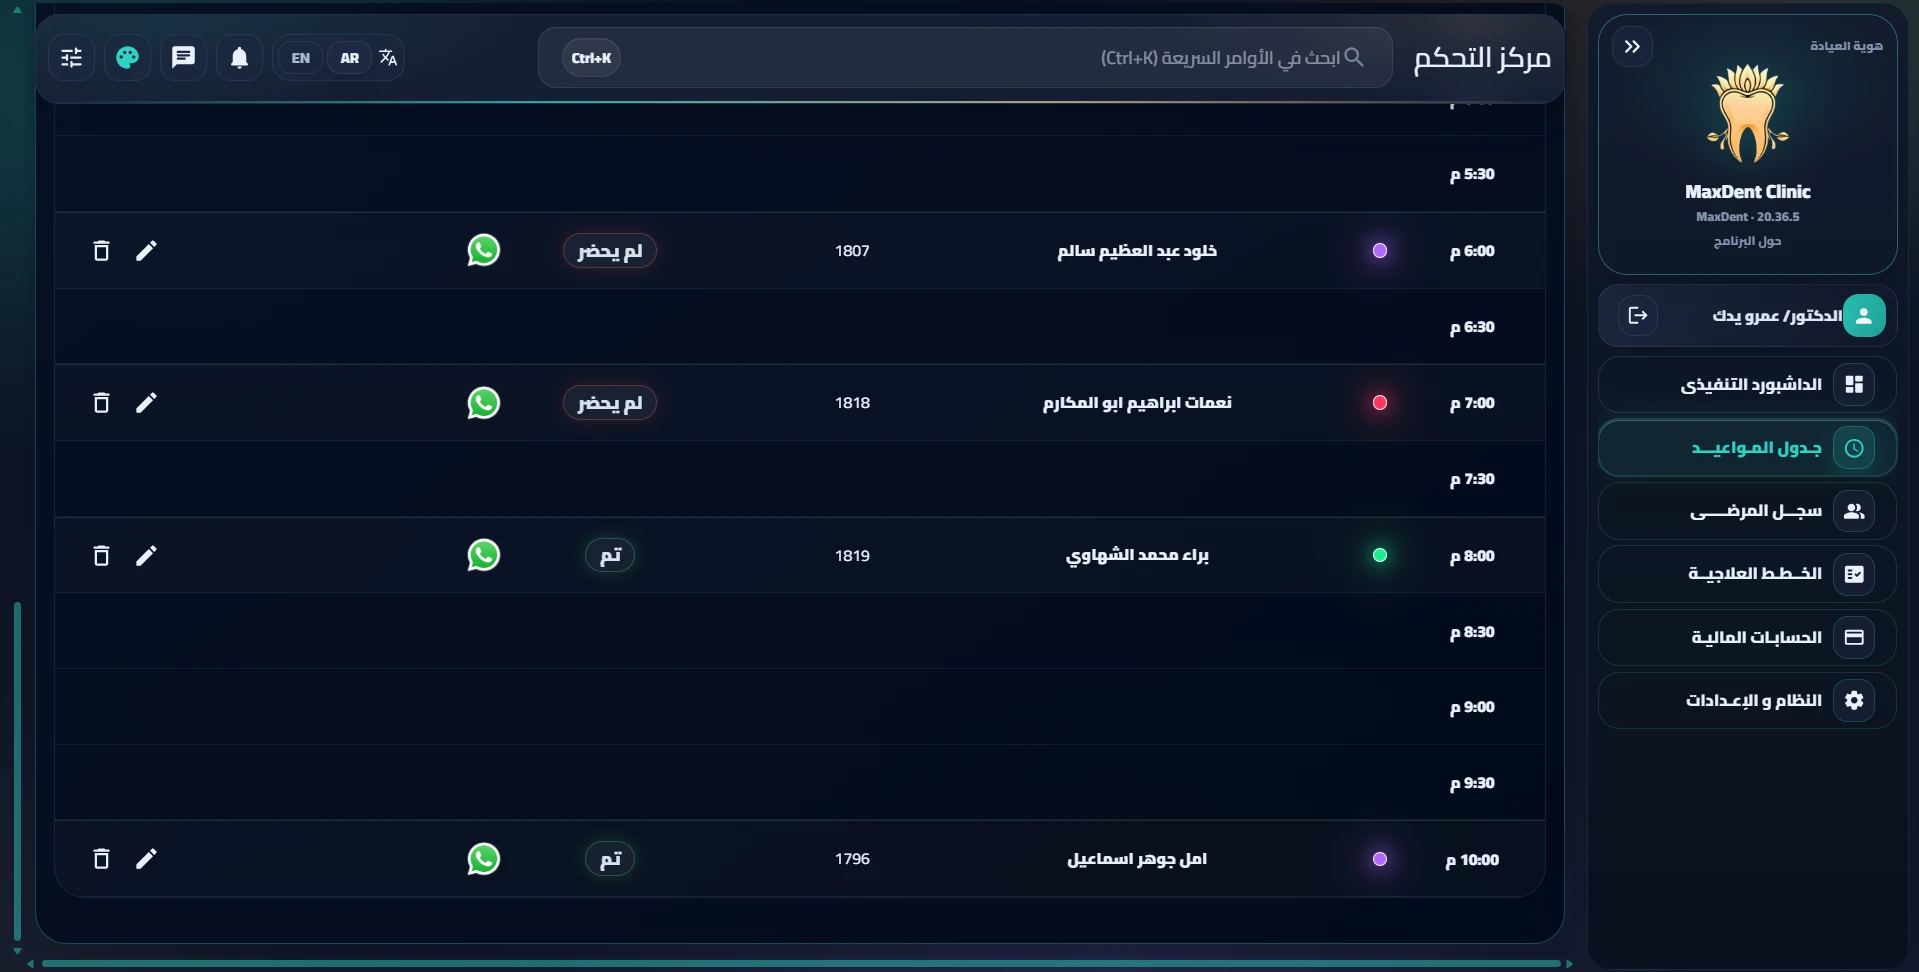
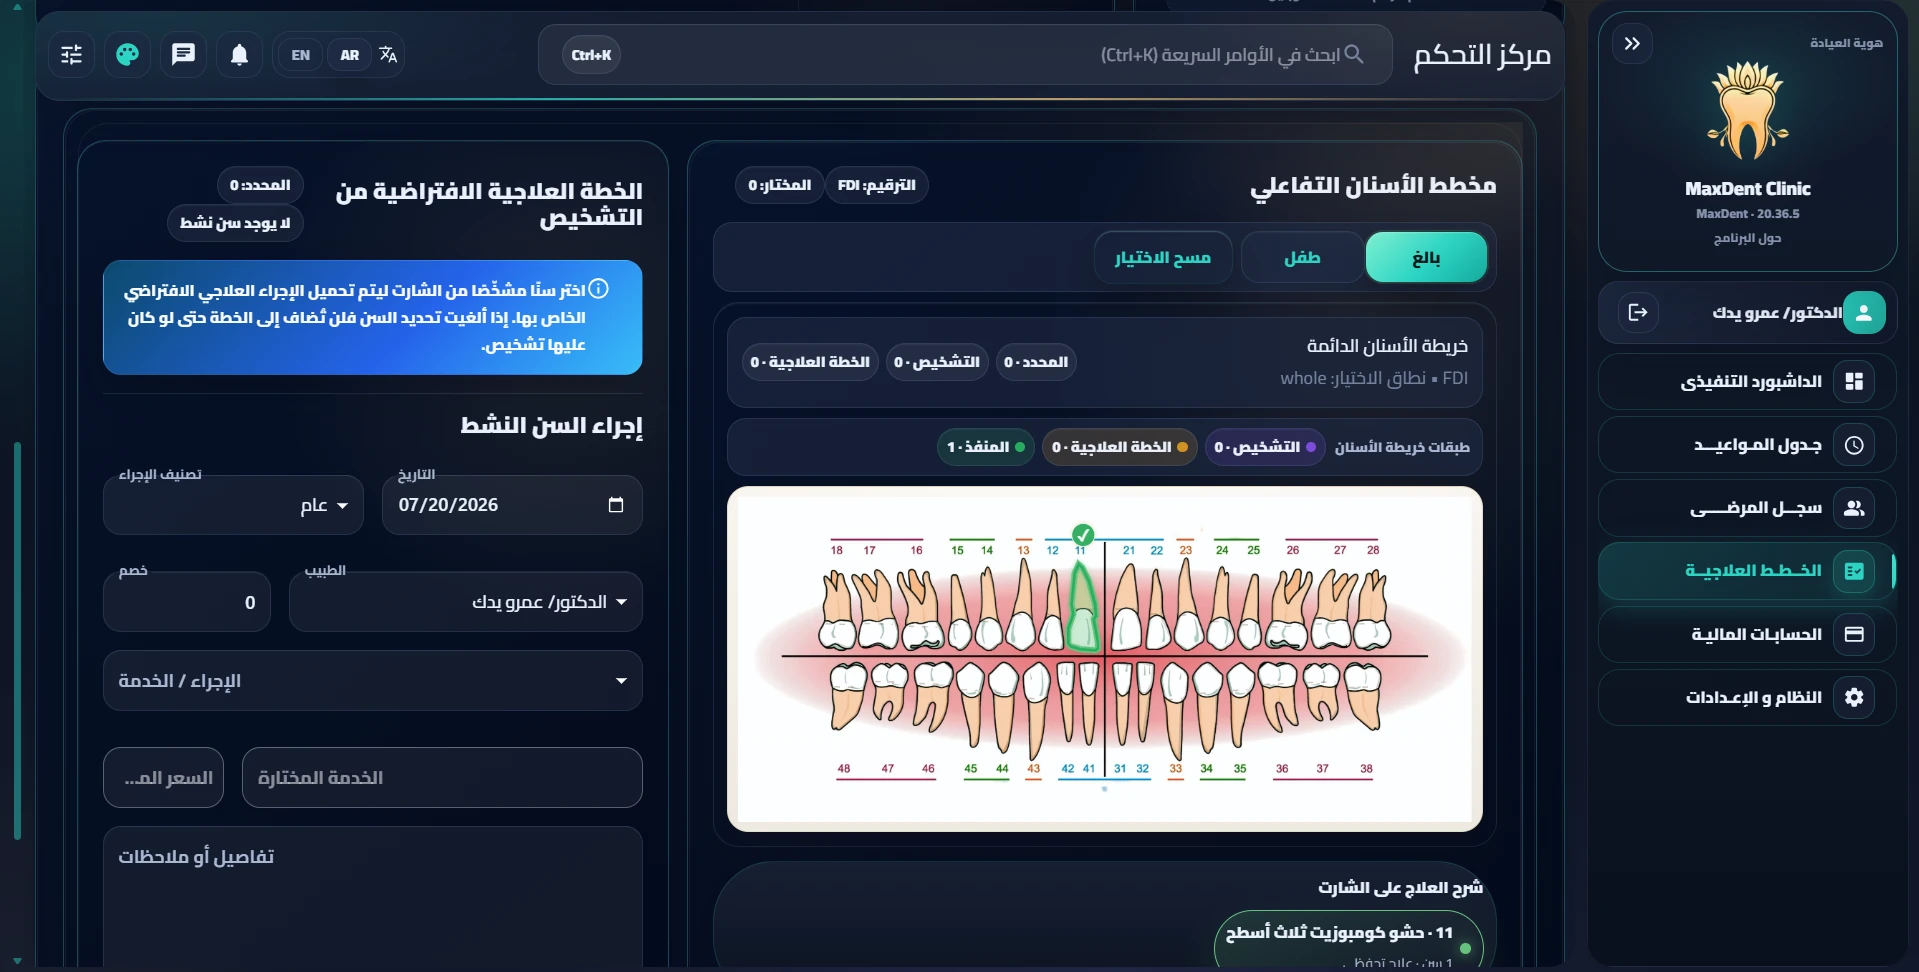
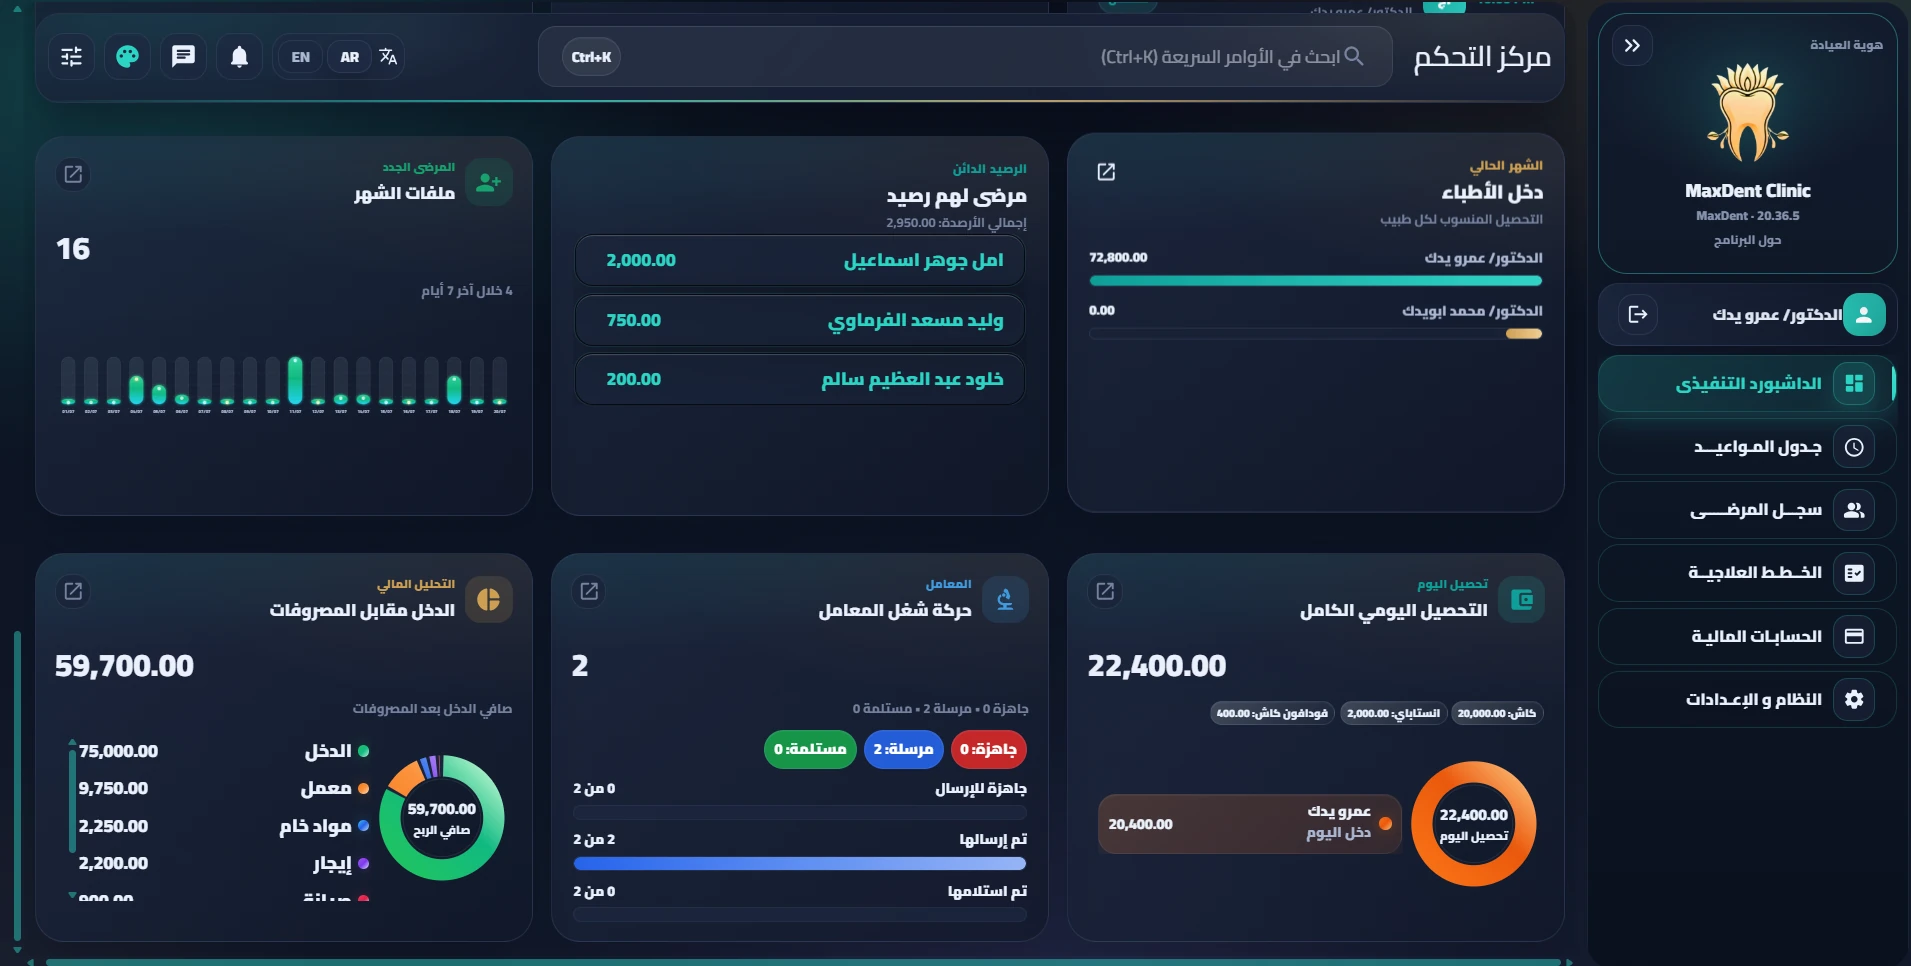
From first launch. To stable clinic and branch operation.
Choose your edition and follow direct steps for the main server, additional workstations, Windows IP discovery, then Enterprise branch setup and Tailscale connectivity when needed.
Dedicated Pro and Enterprise sections without hidden setup steps.
Simple technical steps
IP, CMD, ports and networking are explained with copy-ready examples.
Full operation
After technical setup, continue through the daily workflow and backups.
SECTION ONE
MaxDent Pro Operating Guide
Pro is designed for a single-location clinic. Run it on the main server only, or open it on multiple devices over the same clinic network without installing another server on every workstation.
Main serverHosts the system and data and must stay on while other devices use MaxDent.
Additional devicesNeed Chrome or Edge and the same LAN/Wi‑Fi.
Fixed port8082
1 — First run on the main server
Install MaxDent Pro on the device that will act as the clinic's main server.
Start MaxDent using its normal shortcut.
On the same machine, MaxDent opens at https://localhost:8082.
If activation is still required, complete it in MaxDent or see the Activation Guide.
After login, review clinic identity, users and pricing before entering real data.
Important: if other workstations will use MaxDent, keep the main server powered on and connected to the clinic network during working hours.
Pro on the clinic network
Run Pro on multiple devices
Main serverMaxDent Pro:8082
⇄
ReceptionChrome / Edge
DoctorChrome / Edge
ManagementChrome / Edge
Make sure the main server and all additional devices are connected to the same router/switch by Wi‑Fi or LAN.
Run MaxDent Pro on the main server.
Find the server's IPv4 address using the steps below.
On the other device open Chrome or Edge and enter https://SERVER-IP:8082.
Sign in with the user's normal account and permissions.
You do not need: a full MaxDent server installation or a separate activation on every doctor/reception workstation. They open the system running on the main server.
Windows steps in detail
How to find the main server IP with ipconfig
1
On the main server, press Start or the Windows key.
2
Type cmd.
3
Open Command Prompt.
4
Type ipconfig and press Enter.
5
For Wi‑Fi look under Wireless LAN adapter Wi‑Fi. For a cable connection look under Ethernet adapter.
6
Find IPv4 Address. The number shown there is the main server IP.
Example
If IPv4 Address is 192.168.1.25, open on the other device:
https://192.168.1.25:8082
If the IP changes after a router restart, run ipconfig again. For a permanent address, assign a static IP through Windows/network/router settings.
SECTION TWO
MaxDent Enterprise Operating Guide
Enterprise runs locally inside every branch and can connect branch servers through Tailscale. The fixed Enterprise port is 8083.
Between branchesTailscale connects servers, not every user workstation.
MAINCentral server:8083
⇄ Tailscale ⇄
BRANCHBranch server:8083
⇄ LAN / Wi‑Fi ⇄
Branch doctorBrowser
ReceptionBrowser
First Enterprise run
Choose the server role
After activation, choose the role that matches this server:
MAIN
The central hub that other branch servers connect to and where central branch management is available.
BRANCH
A branch server that works locally and synchronizes with MAIN when connectivity is available.
STANDALONE
Enterprise running as an independent clinic without a branch network yet; it can be promoted to MAIN later.
RESTORE
Use when moving a server and restoring a full backup; MaxDent reads the saved server identity from the backup.
For a new branch network: prepare the central device as MAIN. A connect file generated by MAIN can complete the BRANCH assignment automatically on a new branch server during pairing.
Devices inside each branch
Run Enterprise on multiple devices in the same branch
Doctor and reception workstations inside a branch do not need Tailscale. They connect locally to their branch server on port 8083.
Make sure the branch server and user devices are on the same LAN or Wi‑Fi.
On the branch server press Start, type cmd, and open Command Prompt.
Type ipconfig and press Enter.
Find IPv4 Address under Wi‑Fi or Ethernet, depending on the active connection.
If the branch server IP is 192.168.1.40, open https://192.168.1.40:8083 on branch workstations.
Each user signs in with their own permissions.
Remember: Pro uses 8082 and Enterprise uses 8083.
Branch connectivity — once on MAIN
Prepare the branch network with Tailscale
Enterprise automates most of the network setup. On MAIN you sign in to Tailscale, create an API Access Token, paste it once into MaxDent, and MaxDent handles the remaining preparation.
First — prepare Tailscale on MAIN
Install Tailscale for Windows on the MAIN server if it is not already installed.
Open Tailscale and sign in to the organization's tailnet account.
Open the Tailscale Admin Console in your browser.
Open the Keys page.
Under API access tokens, select Generate access token.
Choose an appropriate expiry period, generate the token and copy it exactly. Tailscale tokens are case-sensitive; keep it private.
Second — connect it to MaxDent
Open MaxDent Enterprise on MAIN.
Go to Branch Management → Branch Network.
Paste the Tailscale API Access Token.
Select Prepare Branch Network.
Wait until MaxDent reports that the branch network is ready.
Important: if the API token expires later, already-connected branches continue working. Generate and paste a new token when needed for management actions such as adding new branches.
Add a new branch
From MAIN to a connected branch — one file
1Add branch
Enter a code such as ALEX and the branch name.
2Download connect file
MaxDent_Connect_ALEX.bat
3Run MaxDent at branch
Make sure Enterprise is running on the branch server.
4Run connect file
Approve the Windows Administrator prompt.
5Done
Tailscale + pairing + first sync + periodic sync are automated.
On MAIN open Branch Management and select Add New Branch.
Enter an English branch code such as ALEX, then the branch name.
Create the branch and download its connect file.
Move the file to the branch server.
Start MaxDent Enterprise on the branch server first.
Run MaxDent_Connect_<CODE>.bat and approve the Windows Administrator prompt.
If Tailscale is missing, the connect file attempts to install it automatically.
The file joins the clinic network, pairs with MAIN, runs the first synchronization and enables periodic synchronization automatically.
The current connect file is valid for 7 days and is bound to one device. If it stops midway, you can safely run the same file on the same device again.
No router port forwarding is required. Branch servers connect through Tailscale, while workstations inside each branch stay on the normal local network.
Quick troubleshooting
If a workstation or branch cannot connect
Workstation in the same clinic cannot open MaxDent
Confirm the server is on.
Confirm both devices are on the same network.
Run ipconfig on the server and verify IPv4.
Pro uses :8082; Enterprise uses :8083.
Enterprise branch is not synchronizing
Confirm internet works on MAIN and BRANCH.
Confirm Tailscale is running on both server machines.
Confirm MaxDent Enterprise is running on both machines.
Use Check & Repair Connection in Branch Management.
Important: Tailscale is required on connected branch servers, not on every doctor or reception workstation inside the branch.
After Pro or Enterprise is ready
Daily MaxDent workflow
Once the server and network are ready, the core workflow is the same: configure the clinic and team, then patients, appointments, treatment, finance and backups.